

Share This
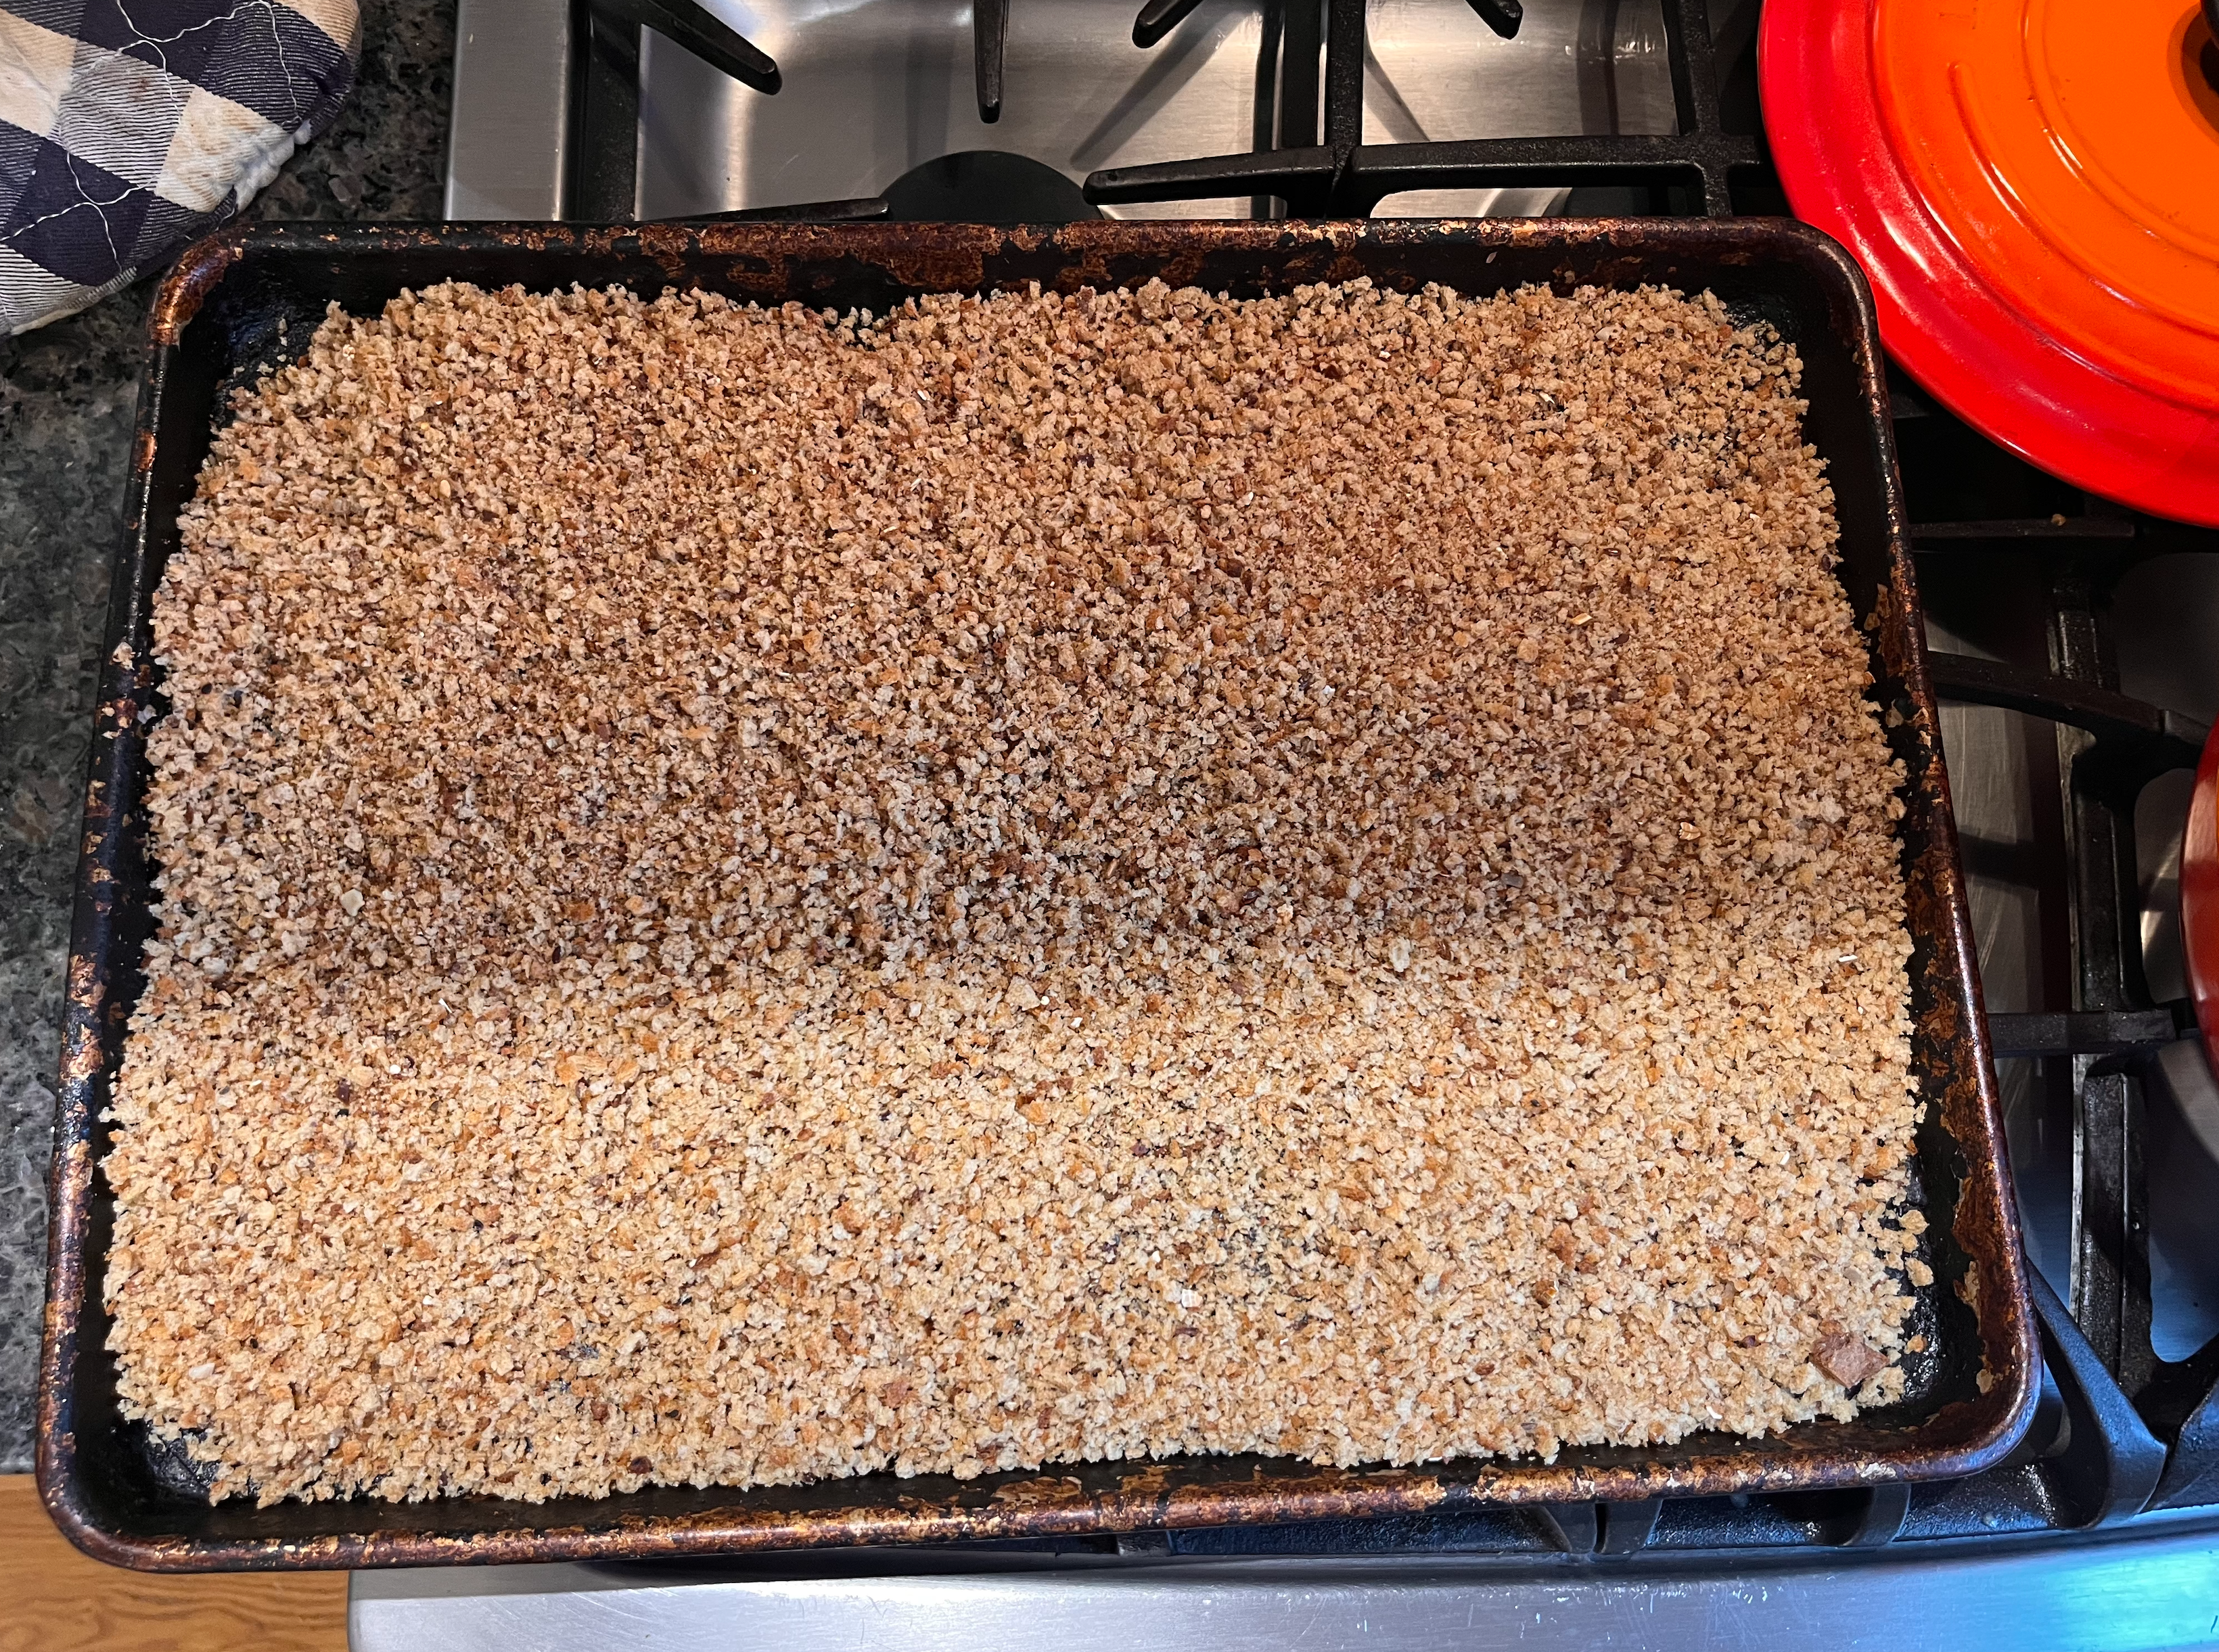
Breadcrumbs are a crucial ingredient in many of my favorite dishes, from fish tacos to sardine patties. But when it became difficult to find whole wheat bread crumbs at my local grocery store, many of my favorite recipes started slipping out of the rotation. On some level, I knew that homemade bread crumbs were possible, simple, and had the potential to be a step above store bought options. But first, I needed seek some advice.
Vik Bensen, the Stamp Program Manager for the Oldways Whole Grains Council, describes their process as follows.
“Sometimes, despite my best intentions, I don’t eat fresh artisan bread before it starts to stale. Even if my baguette or a crusty loaf is no longer fresh and soft, that’s no reason to let it go to waste! When I’ve neglected a bread, I’ll usually transfer it into a breathable bag (cloth or paper) and store in a cool, dry spot in my kitchen to prevent molding. Then, I’ll let it harden for a few days until it’s turned truly stale.
Once it’s ready, I’ll wrap the bread in a large kitchen towel on the counter and will use a rolling pin or wooden mallet to methodically smash the bread to break it up, hitting from different angles until the bread has crumbed. Then, I’ll transfer the crumbs into an airtight container to use over the next few weeks. I prefer to store my breadcrumbs untoasted, and will toast before each use. If there are particularly difficult parts of the bread to break up, I’ll typically set them aside to leave as large stale pieces; when soaked, stale artisanal bread also becomes a great thickener for soups like salmorejo, pasta fagioli, or broccoli cheddar!”
In the 2017 cookbook Dining In, author Alison Roman devotes three full pages to homemade bread crumbs. “The good news about the impending hassle of dragging your food processor out to make these is that it’s literally the most complicated part of the whole ordeal,” Roman writes. Like Bensen, Roman makes her bread crumbs “fresh,” opting not to toast them until just before use. This contrasts from the grocery store bread crumbs that I was used to, which are sold dried. Unlike Bensen, Roman often starts with fresh bread, rather than stale bread, and uses a food processor, rather than good old fashioned elbow grease. Clearly, there are lots of different ways to get from point A to point B.
I would love to be the type of person, like Bensen or Roman, who has a loaf of artisanal whole grain bread from a local bakery at the ready. But alas, I live in a sleepy suburb, not bustling Brooklyn. Determined to work with what’s available to me, I grabbed a loaf of whole grain sandwich bread from the grocery store and rolled up my sleeves. If I can do this, you can too! Here is my process.
Homemade Whole Grain Bread Crumbs
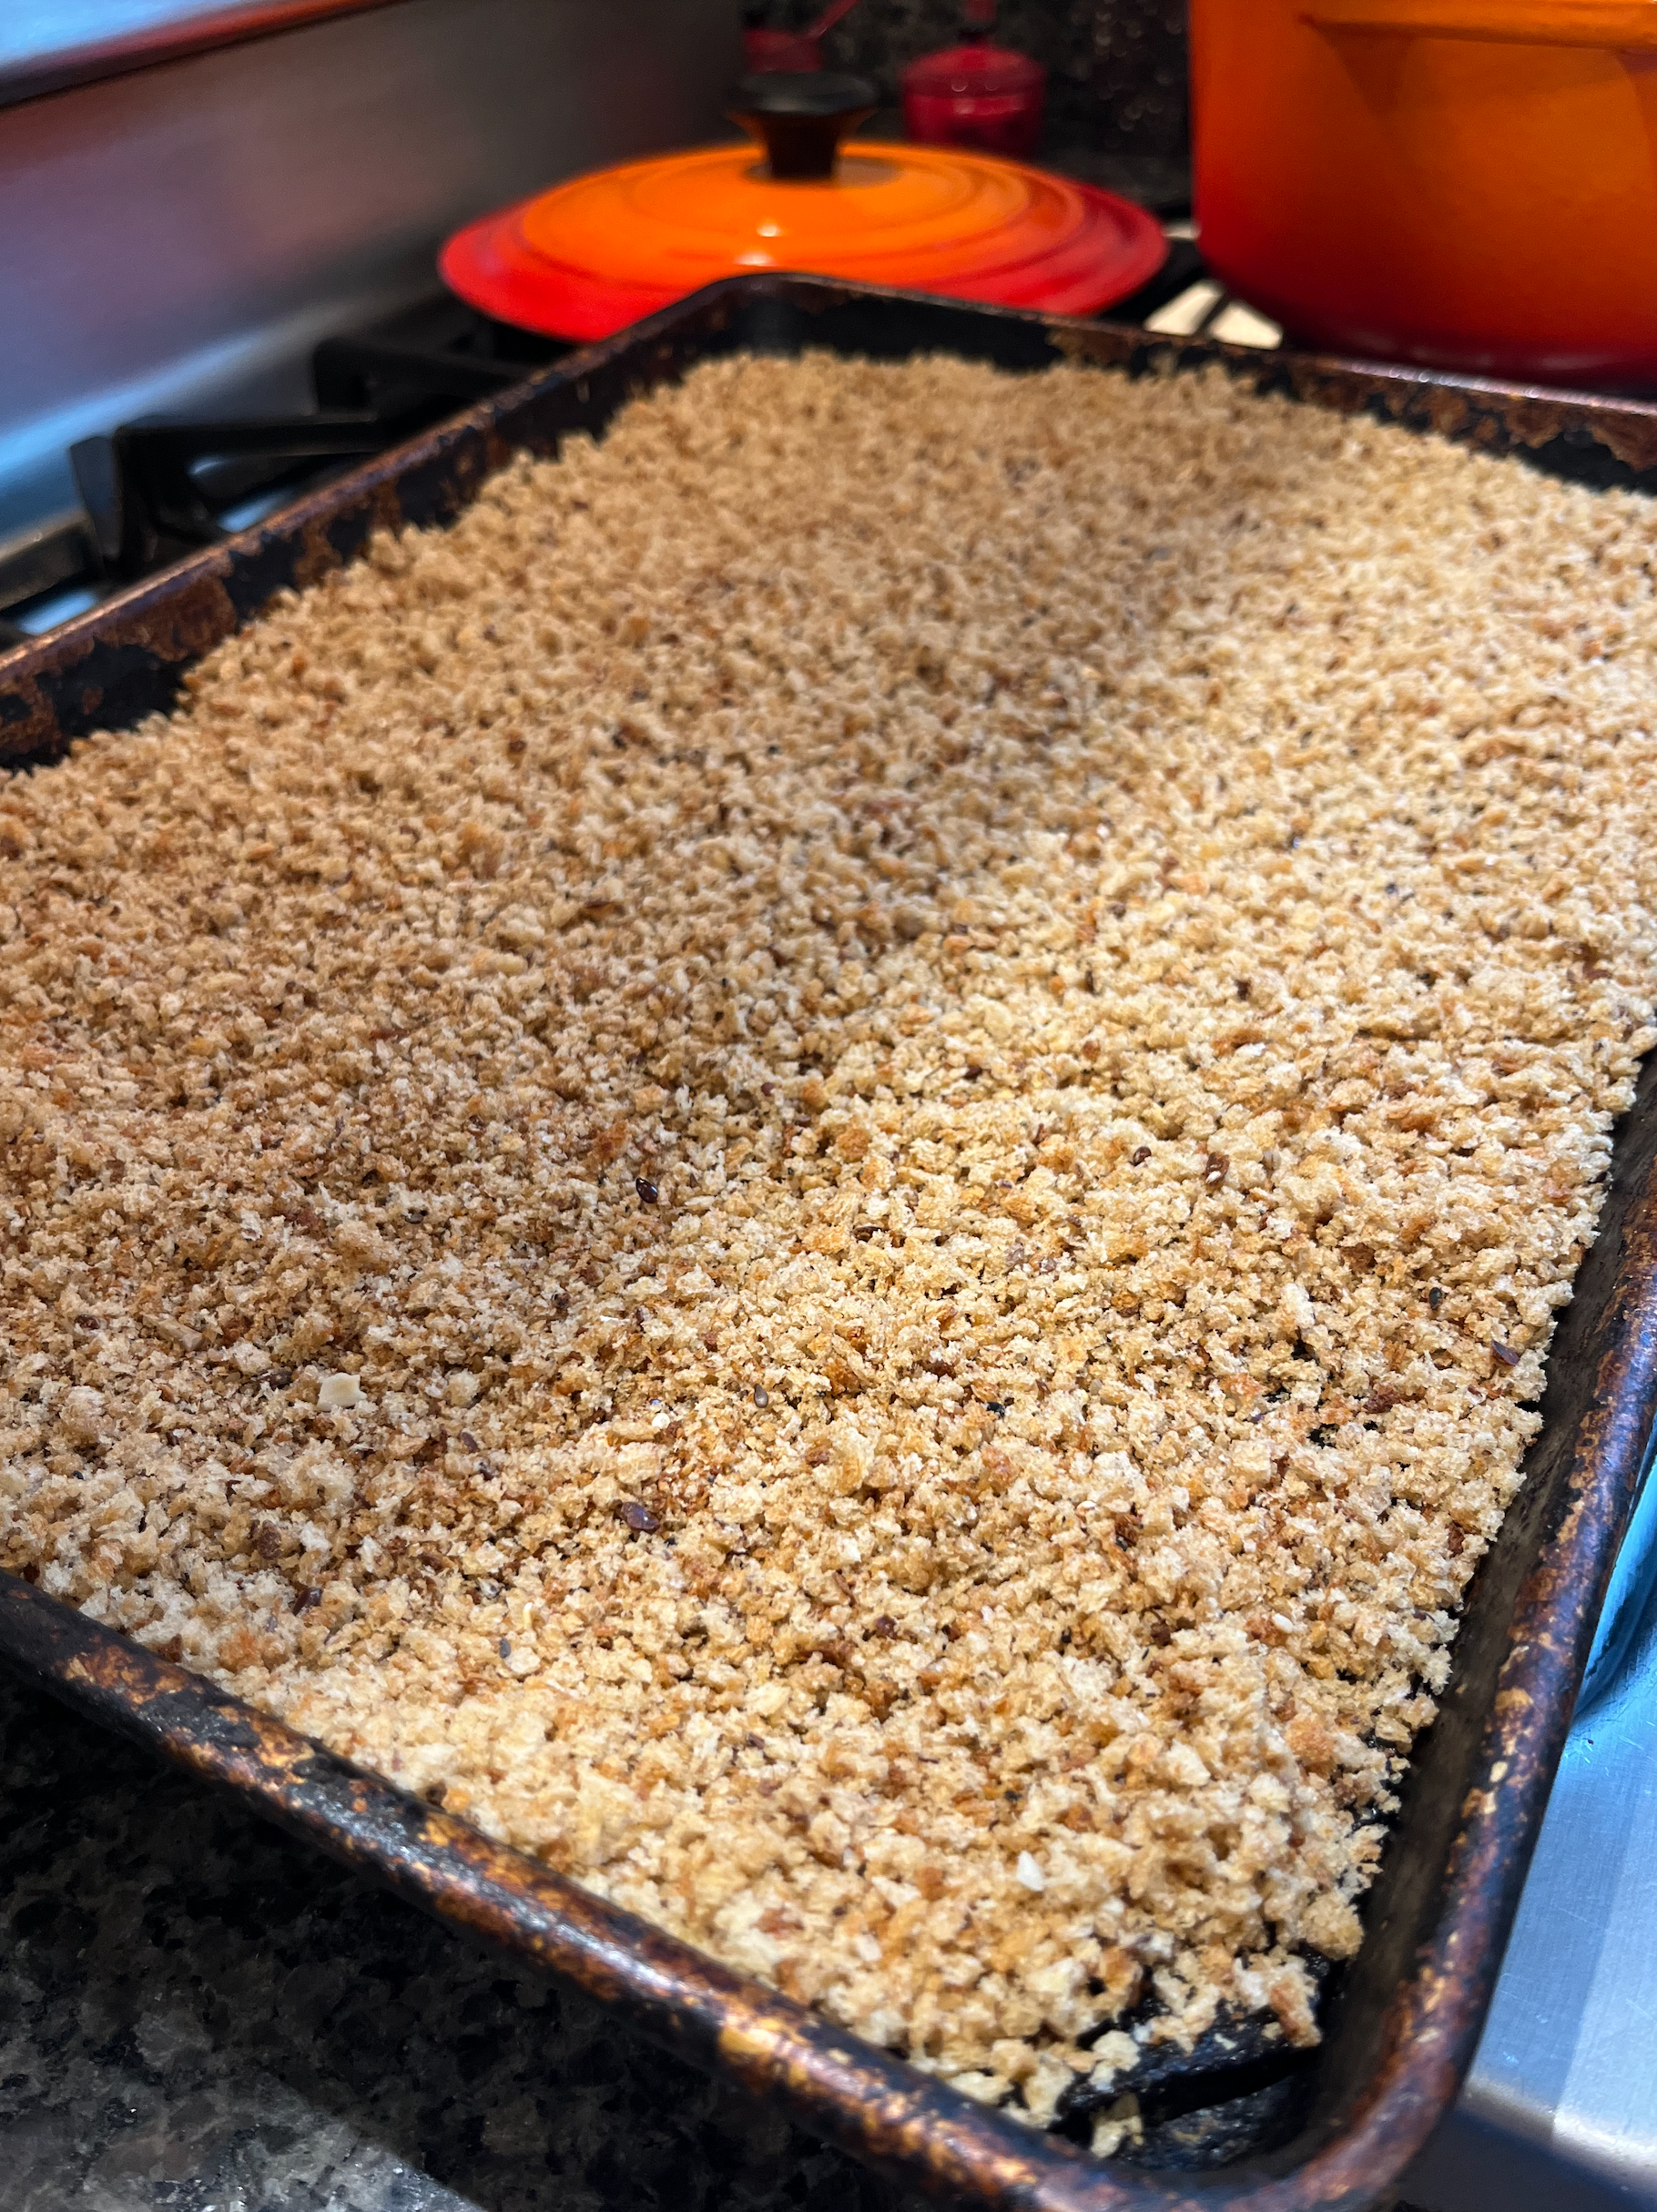
This recipe is for dried bread crumbs, similar to what you might find at the grocery store. It’s easy to customize with your favorite bread and is a great way to use up those lonely end pieces.
Yield: 3 ¼ cups bread crumbs
Ingredients:
- 9 slices whole grain sandwich bread
Instructions:
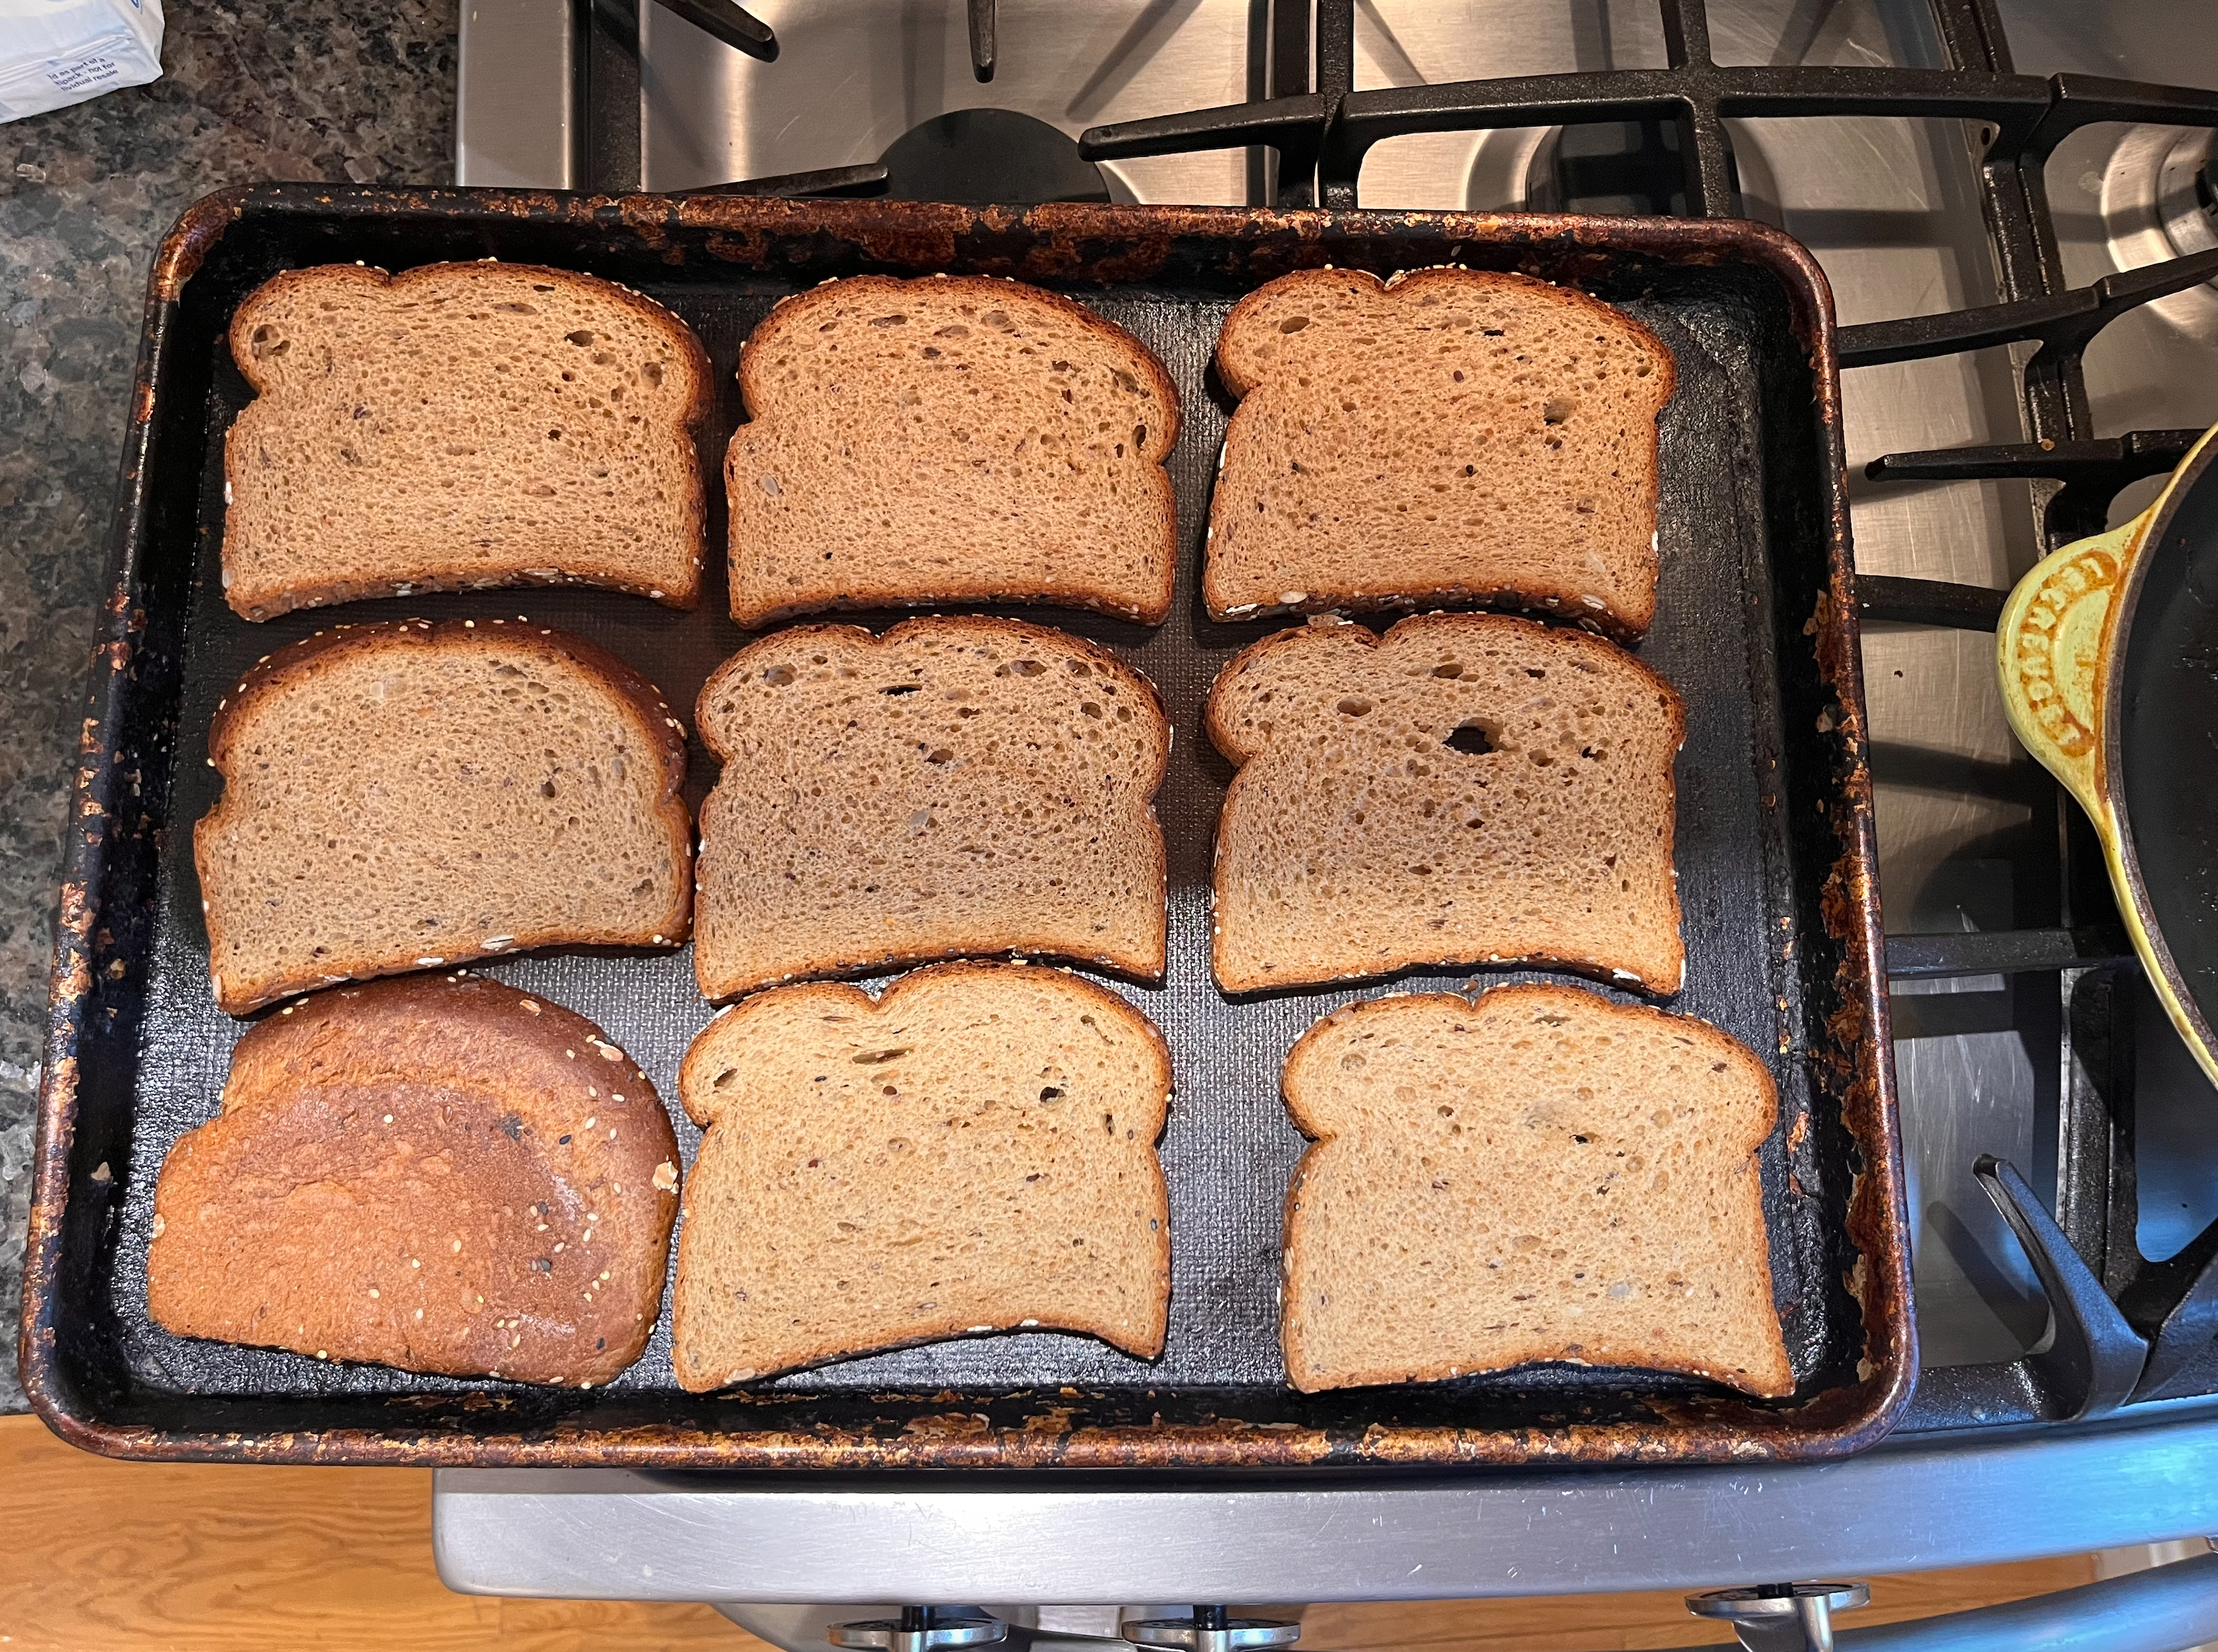
- Preheat the oven to 300°F. Fill a sheet pan with slices of whole grain bread so that none are overlapping. Nine slices of standard sized bread fit neatly in my pan. This is also a great way to use up those crusty end slices.
- Toast the bread for 15 minutes, then let it cool for a full 20-30 minutes, until no longer warm to the touch.
- Tear up the bread into bite sized pieces and put half of the pieces into a food processor. Pulse in the food processor for one minute, checking every 10 seconds or so, until the texture reaches your desired breadcrumb consistency.
- Pour the breadcrumbs back onto a sheet pan and then repeat the pulsing process with the remaining torn bread. Once you’re done pulsing and all of your bread is broken down into a breadcrumb consistency, spread it all out onto the sheet pan in an even layer. My breadcrumbs still felt a bit soft at this point, so they needed further toasting.
- Put the sheet pan back in the 300°F oven and bake for an additional 15 minutes. Remove the pan from oven to mix the breadcrumbs up a bit and then toast for an additional 5-10 minutes, until dry but not burnt.
- Let the breadcrumbs rest and full cool before storing in an airtight container in the pantry or in the freezer.
- Kelly LeBlanc, MLA, RD, LDN, Vice President of Nutrition Programming, Oldways
To have our Oldways Whole Grains Council blog posts (and more whole grain bonus content!) delivered to your inbox, sign up for our monthly email newsletter, called Just Ask for Whole Grains.
Add a Comment